How to Use an Italian Moka Pot: A Step-by-Step Guide to Perfect Espresso
The Italian moka pot is a timeless piece of coffee-making equipment that has brought strong, aromatic espresso-style coffee to households worldwide. Whether you're a coffee aficionado or a beginner looking to expand your brewing methods, learning to use a moka pot is both simple and rewarding.
If you are looking for a relatively inexpensive espresso maker that doesn't take up much countertop space and is highly portable, then the Moka pot may be a good choice for you. The iconic Italian coffee maker can brew a delicious, strong tasting espresso to give you your morning coffee fix.
You can purchase the stovetop espresso maker in various sizes depending on how many cups you want to brew for and they all follow the same brewing technique. People often struggle to create a non-bitter tasting cup of coffee when using the Moka pot so I've put this guide together to help you get a great tasting espresso from your stovetop espresso maker.
What is a Moka Pot?
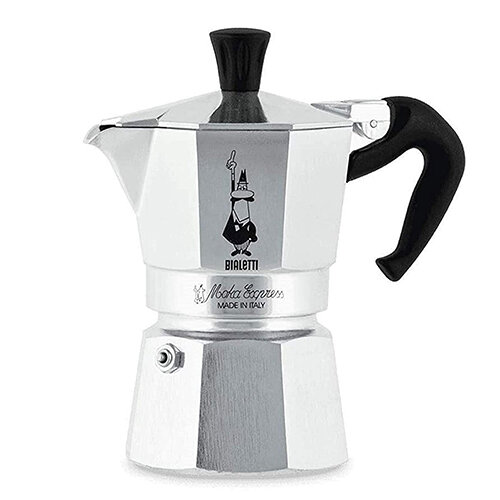
The moka pot is a stovetop coffee maker invented by Alfonso Bialetti in 1933. It consists of three main parts:
The Bottom Chamber: Holds water.
The Filter Basket: Contains ground coffee.
The Upper Chamber: Collects the brewed coffee.
This method uses steam pressure to push hot water through coffee grounds, creating a rich and robust brew.
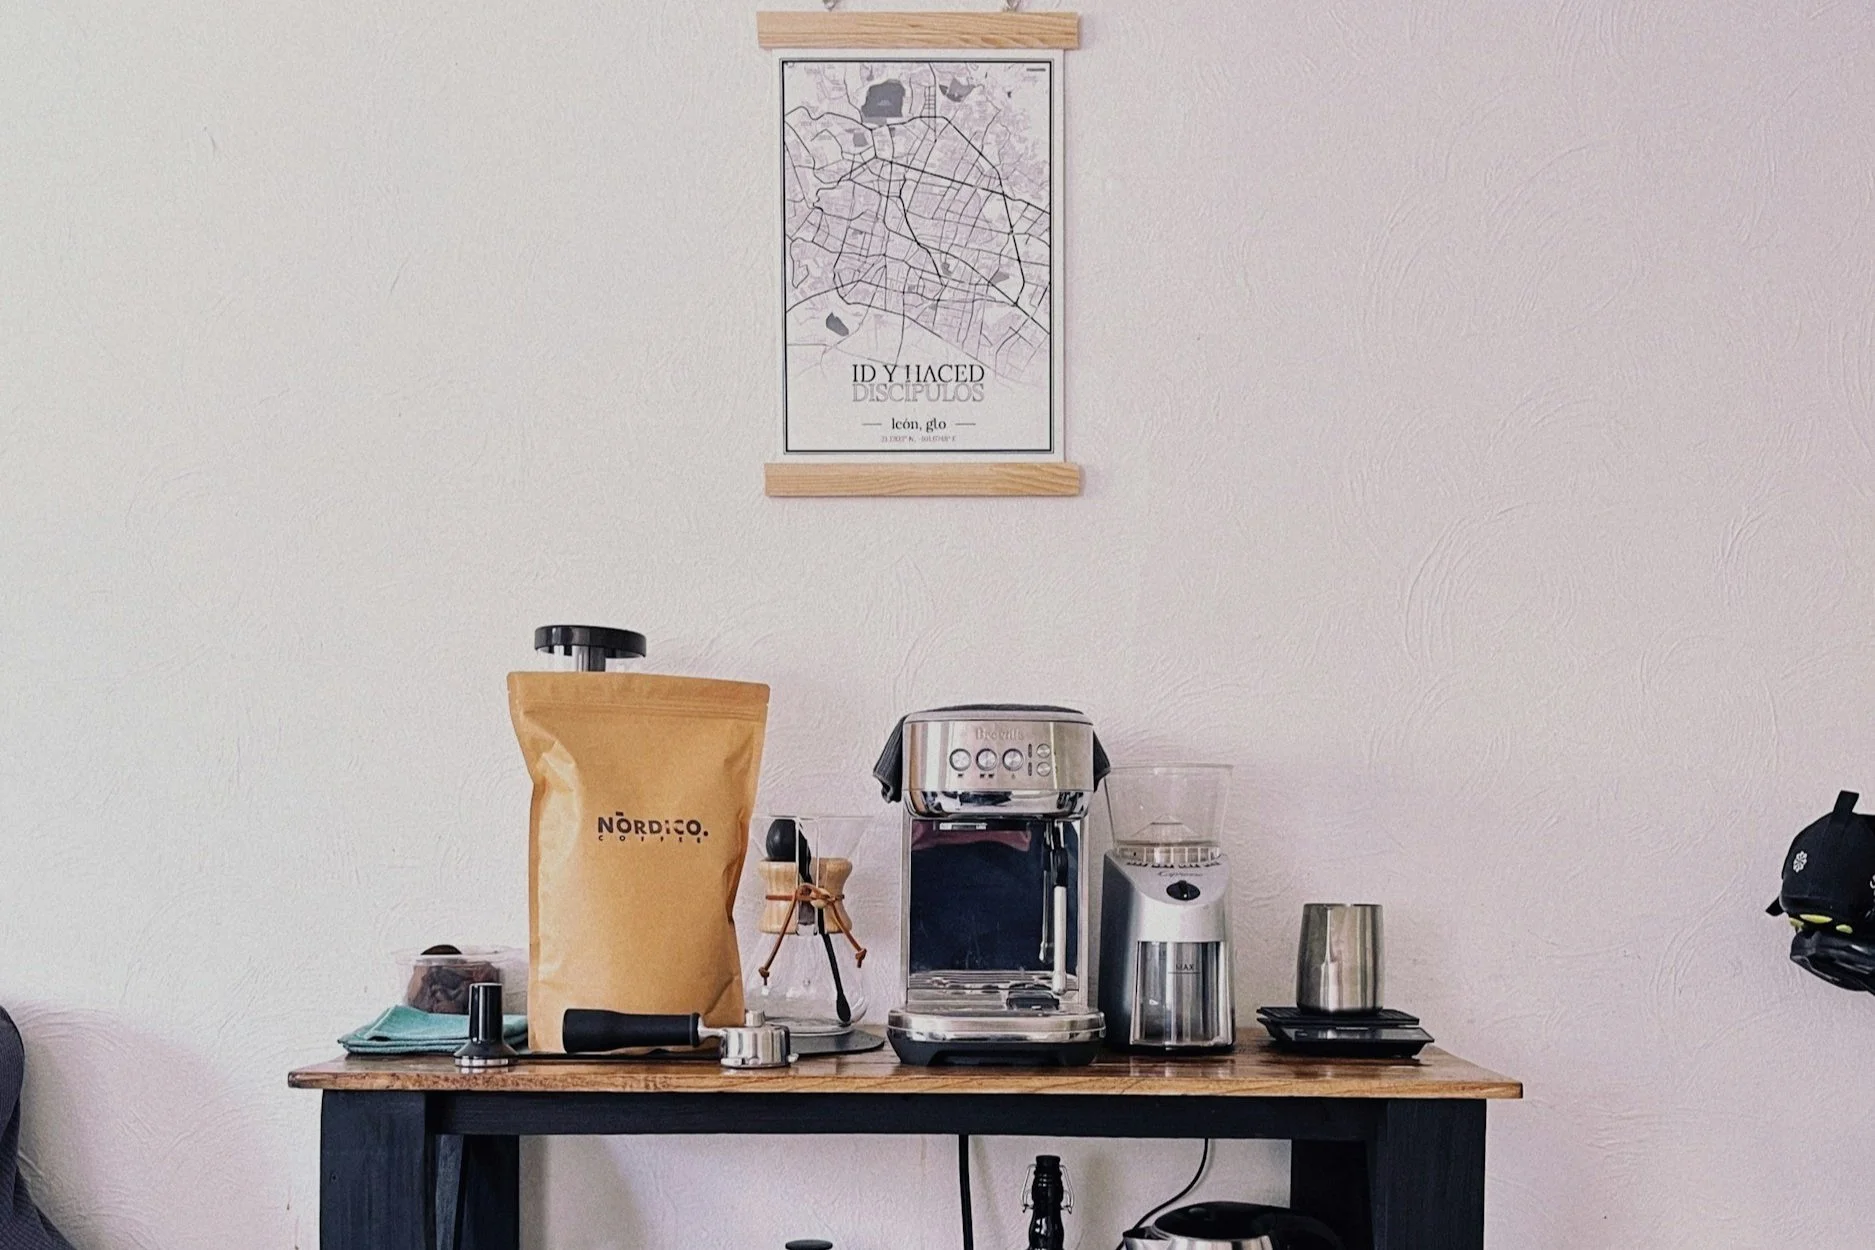
Equipment Needed
Moka Pot
When choosing a Moka pot, you will have multiple sizes to chose from depending on the number of cups you are brewing. We recommend the Bialetti Moka Espresso due to it’s brand heritage and for being the original Moka pot (view on Amazon)
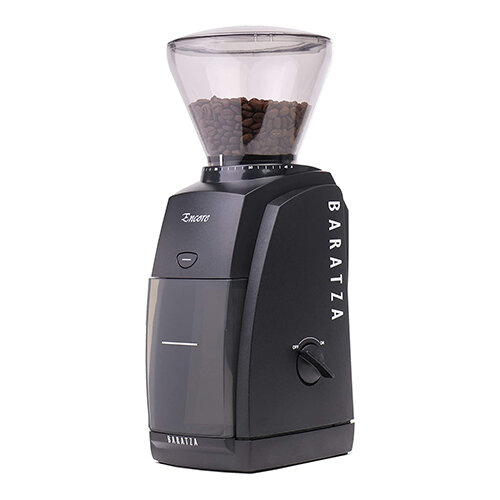
Burr Coffee Grinder (Electric or Hand)
This is the most important part of your setup. A burr coffee grinder is highly recommended compared to a blade grinder. The Baratza Encore is a very popular choice due to it’s reliability, ease of use and afforable price tag (view on Amazon)
Cooking Hob/Stove
Most cooking stoves will be suitable for a Moka Pot, just bear in mind if you have an induction hob you may need a converter plate.
Why Grind Size Matters
For your store top espresso maker, you will need a grind size somewhere in between espresso and filter coffee. This is quite a wide range however after you brew your coffee you can adjust your grind size depending on the brew time and taste.
How to use the Moka Pot: The Ultimate Technique
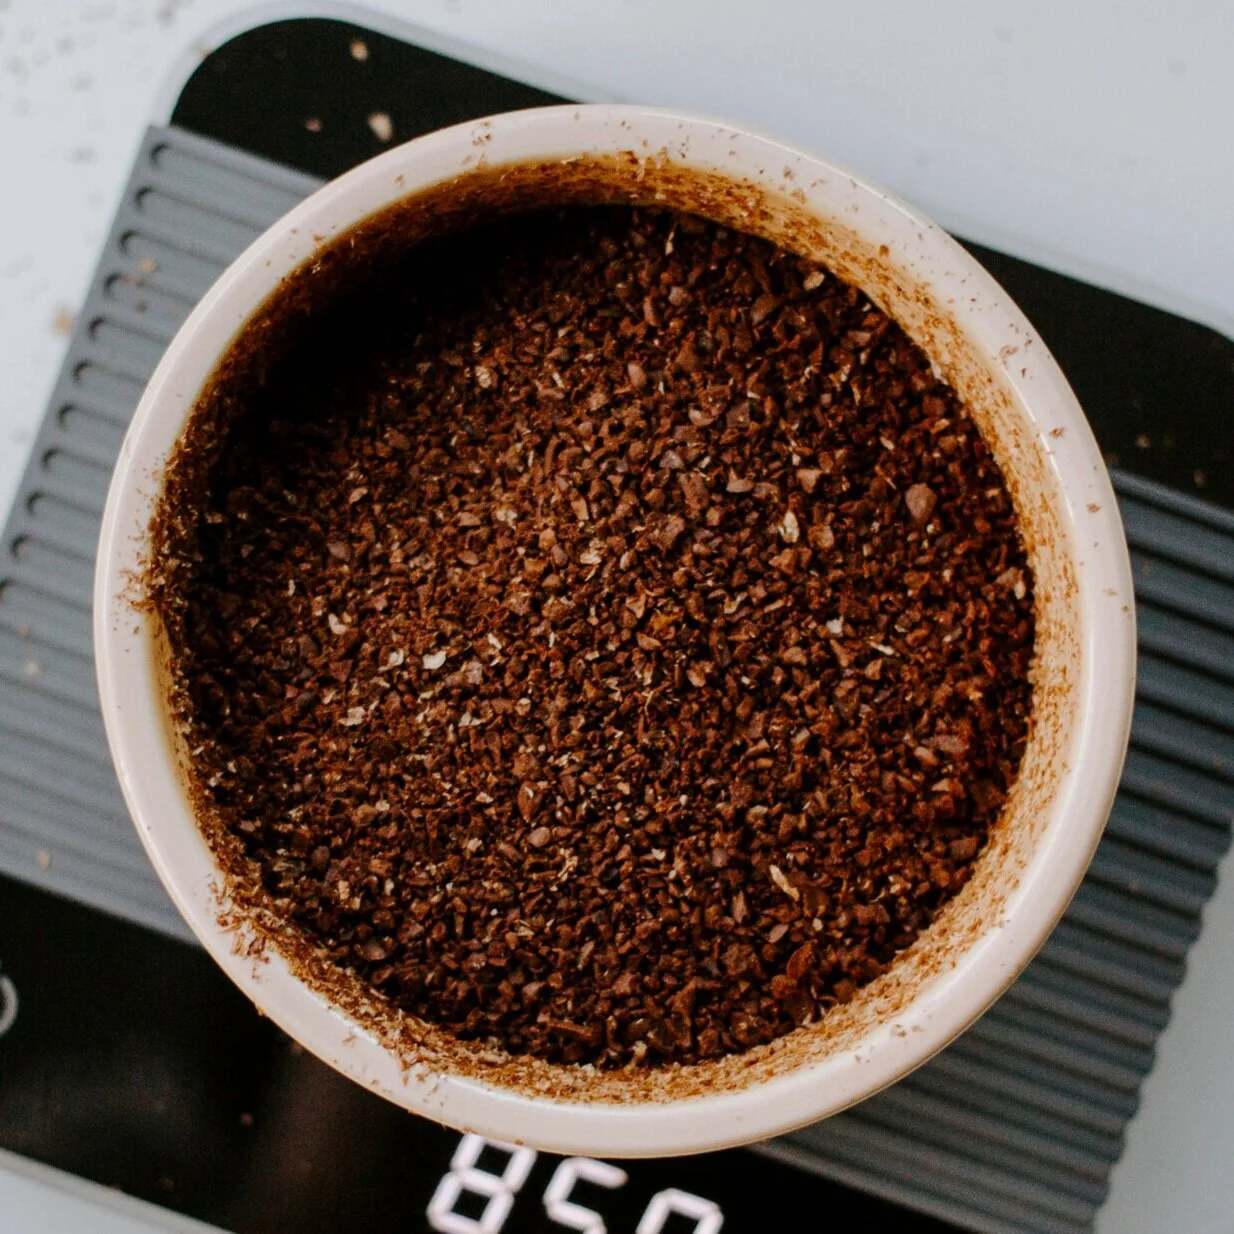
Step 1: Grind your coffee beans
Using your coffee grinder to grind your beans into a size that's not as fine as espresso but also not as coarse as filter coffee.
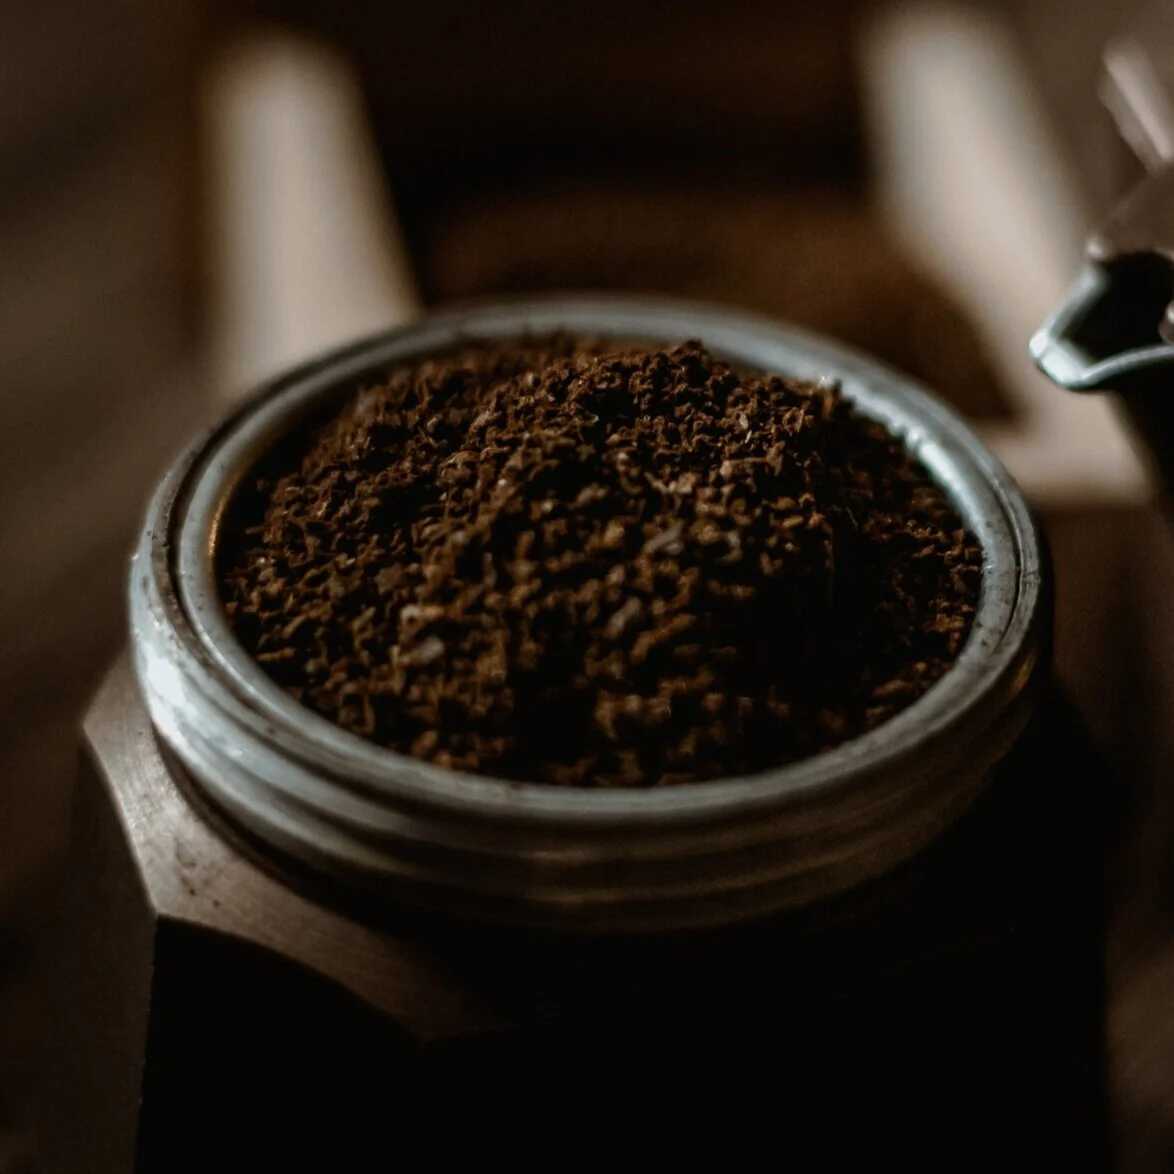
Step 2: Fill the grounds basket
Fill the coffee ground basket in your Moka pot but don't compress/tamp the grounds. You will want to fill the basket to pretty much the top and level them out.
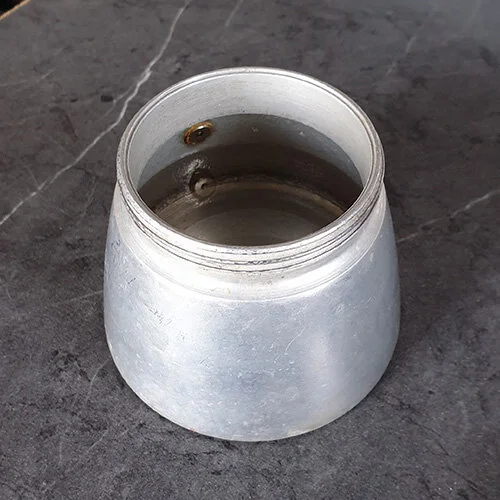
Step 3: Fill the bottom part with hot water
Next, you will need to pour freshly boiled water into the bottom section of the Moka pot. Fill up to just below the valve. It's important to use hot water to speed up the brewing process. If you use cold water, this will increase the time the water is in contact with the coffee grounds and will, therefore, over-extract the beans.
Step 4: Screw the sections together
Now that you've filled the bottom part of the Moka pot with water, insert the coffee grounds basket and then screw the top section in place. You may want to put a towel again the bottom part when screwing as it'll be very hot. Screw it tight enough so that no water can seep through but don't screw it too tight or this could damage the espresso maker.
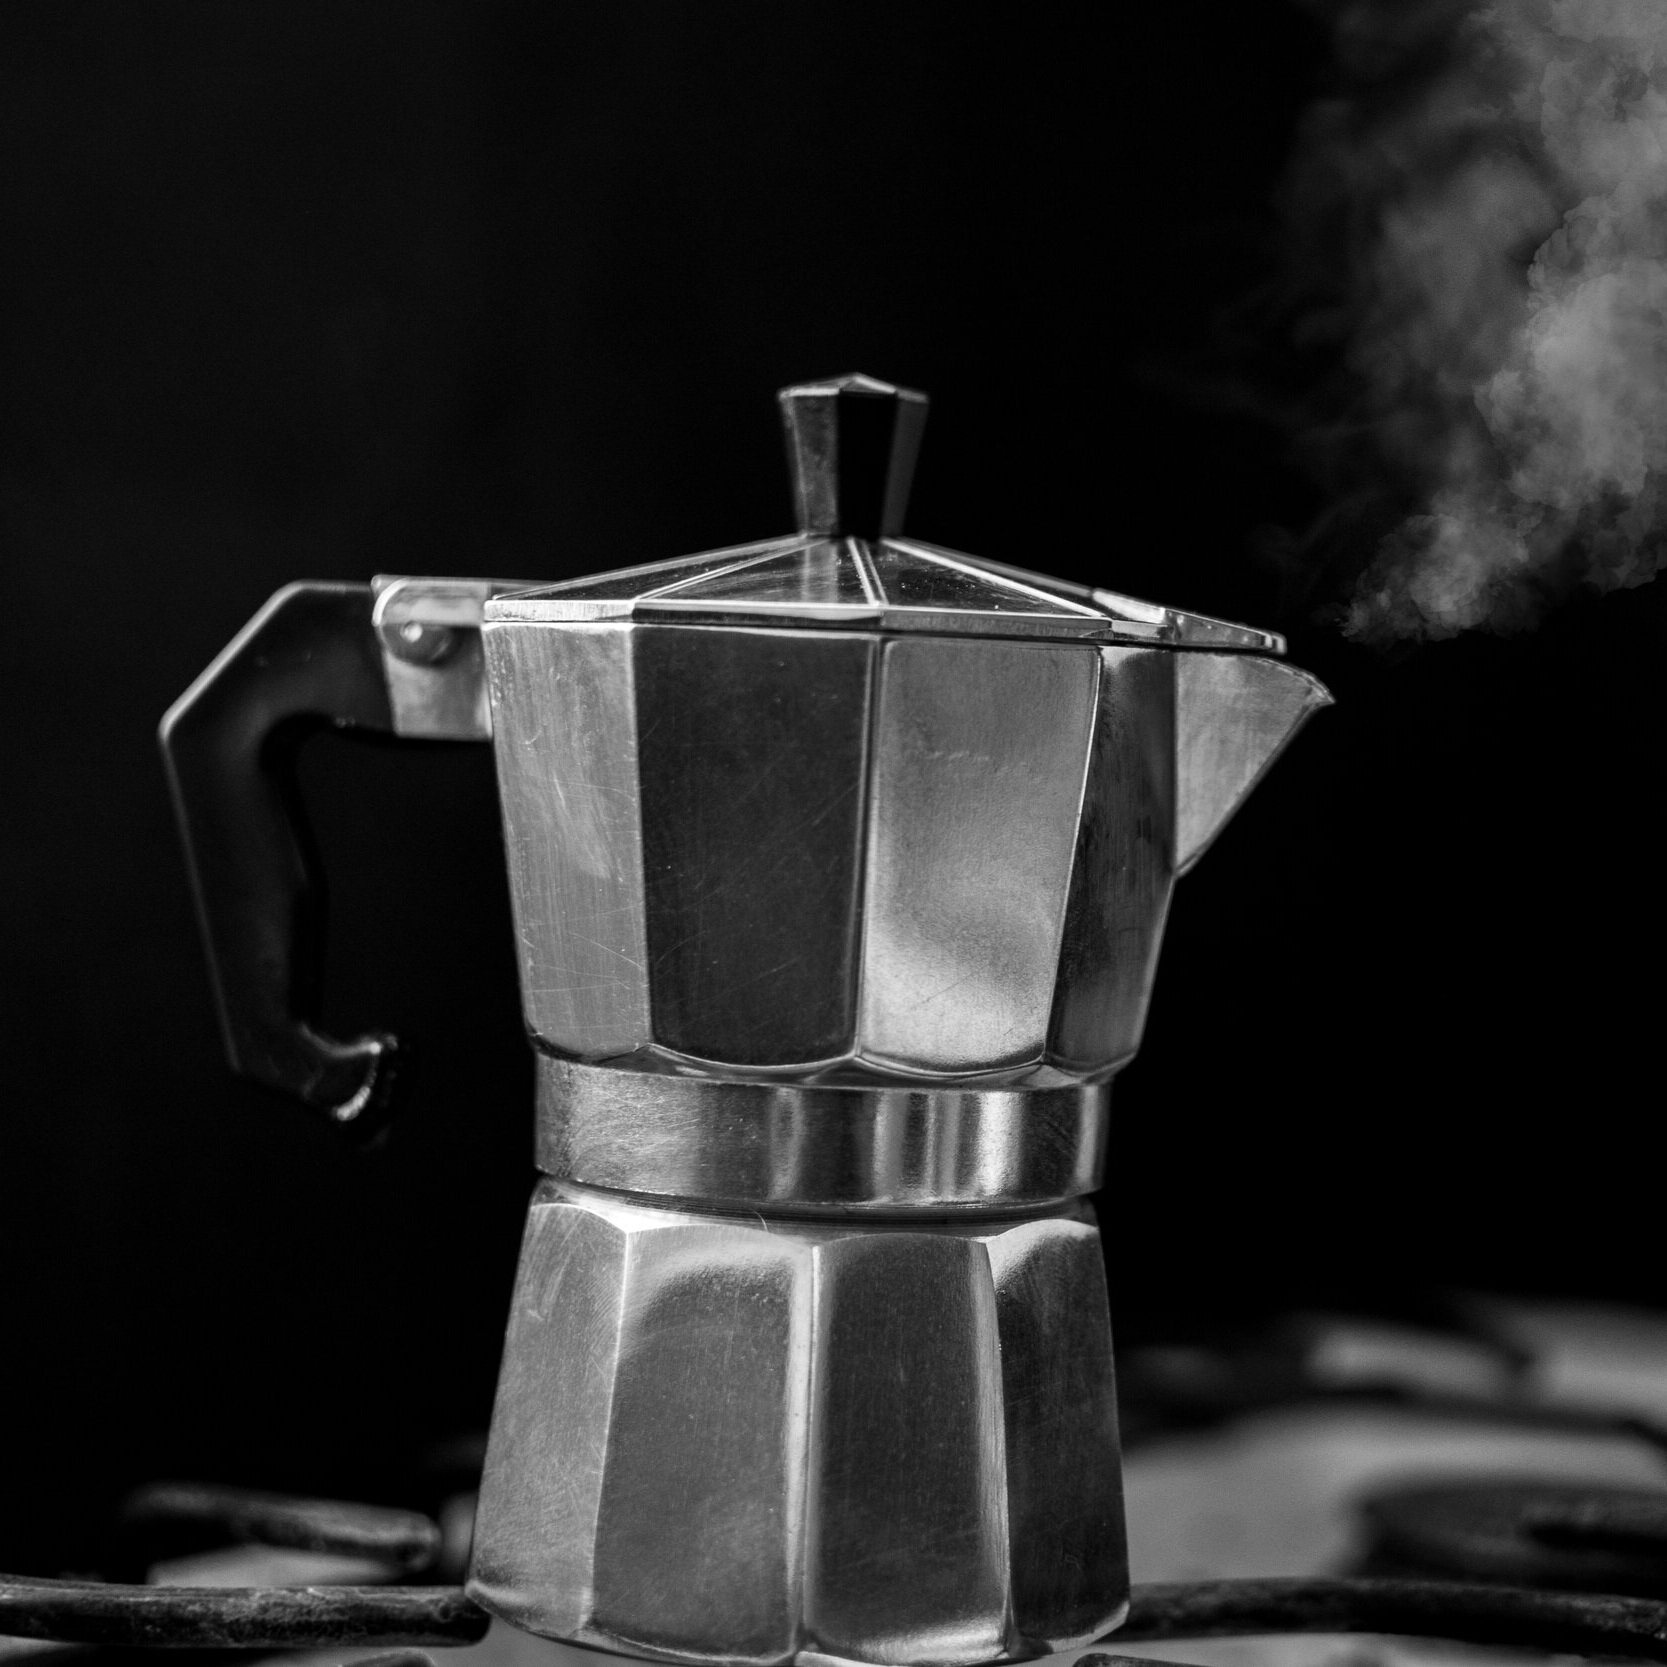
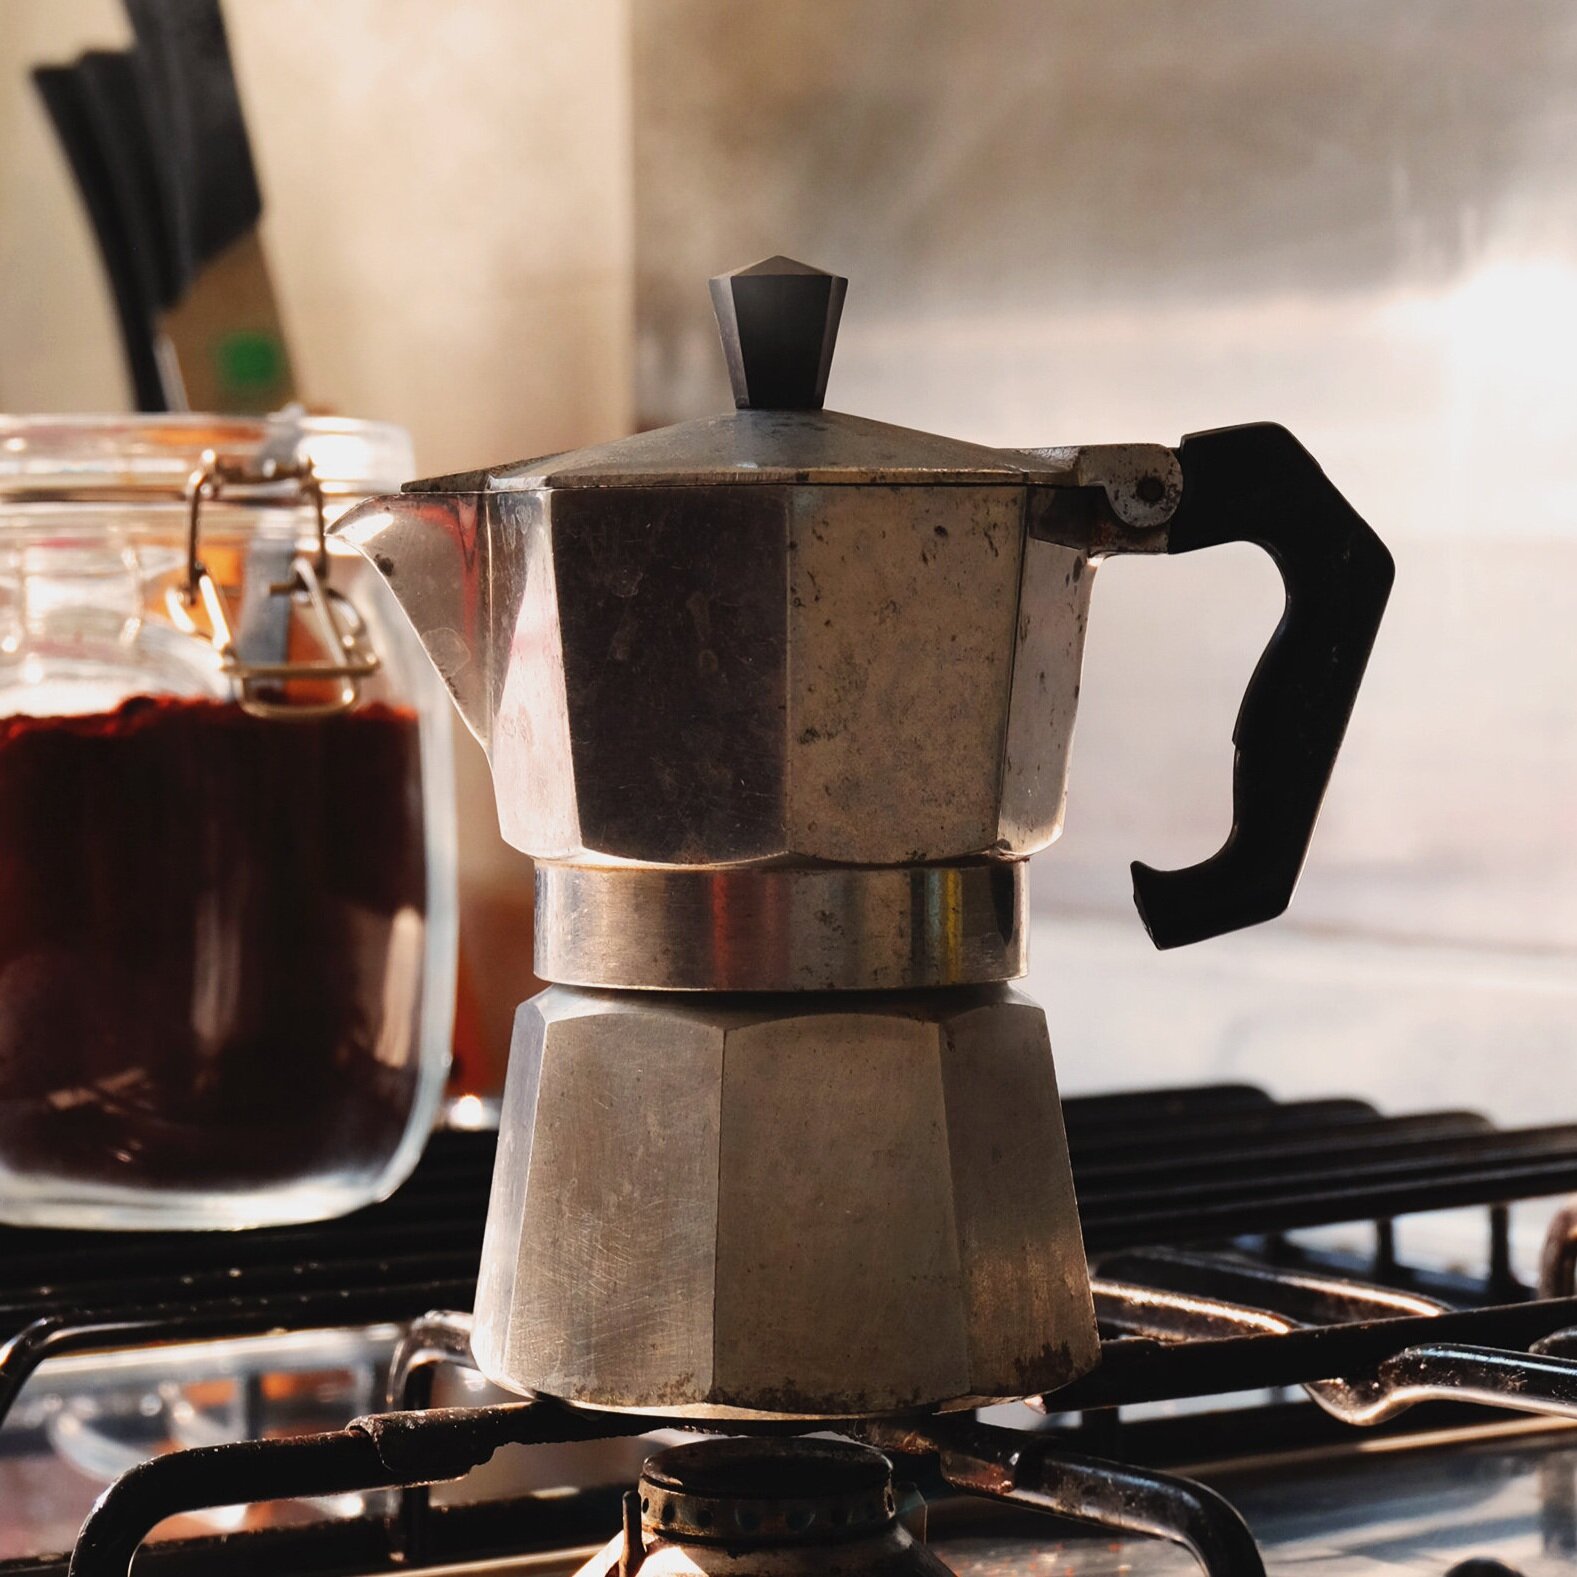
Step 5: Place the Moka pot on a stove or hob
Put the espresso maker on top of a gas stove or electric hob to heat the water. The stove should be set to a high heat.
Step 6: Turn the heat off when it starts to bubble
As your coffee starts to brew, you will need to listen out for a gurgling/bubbling sound. When you hear this, turn the heat off and immediately cool the water down by running a cold tap against the bottom part of the Moka pot. This stops the brewing process which helps to avoid any bitterness in taste.
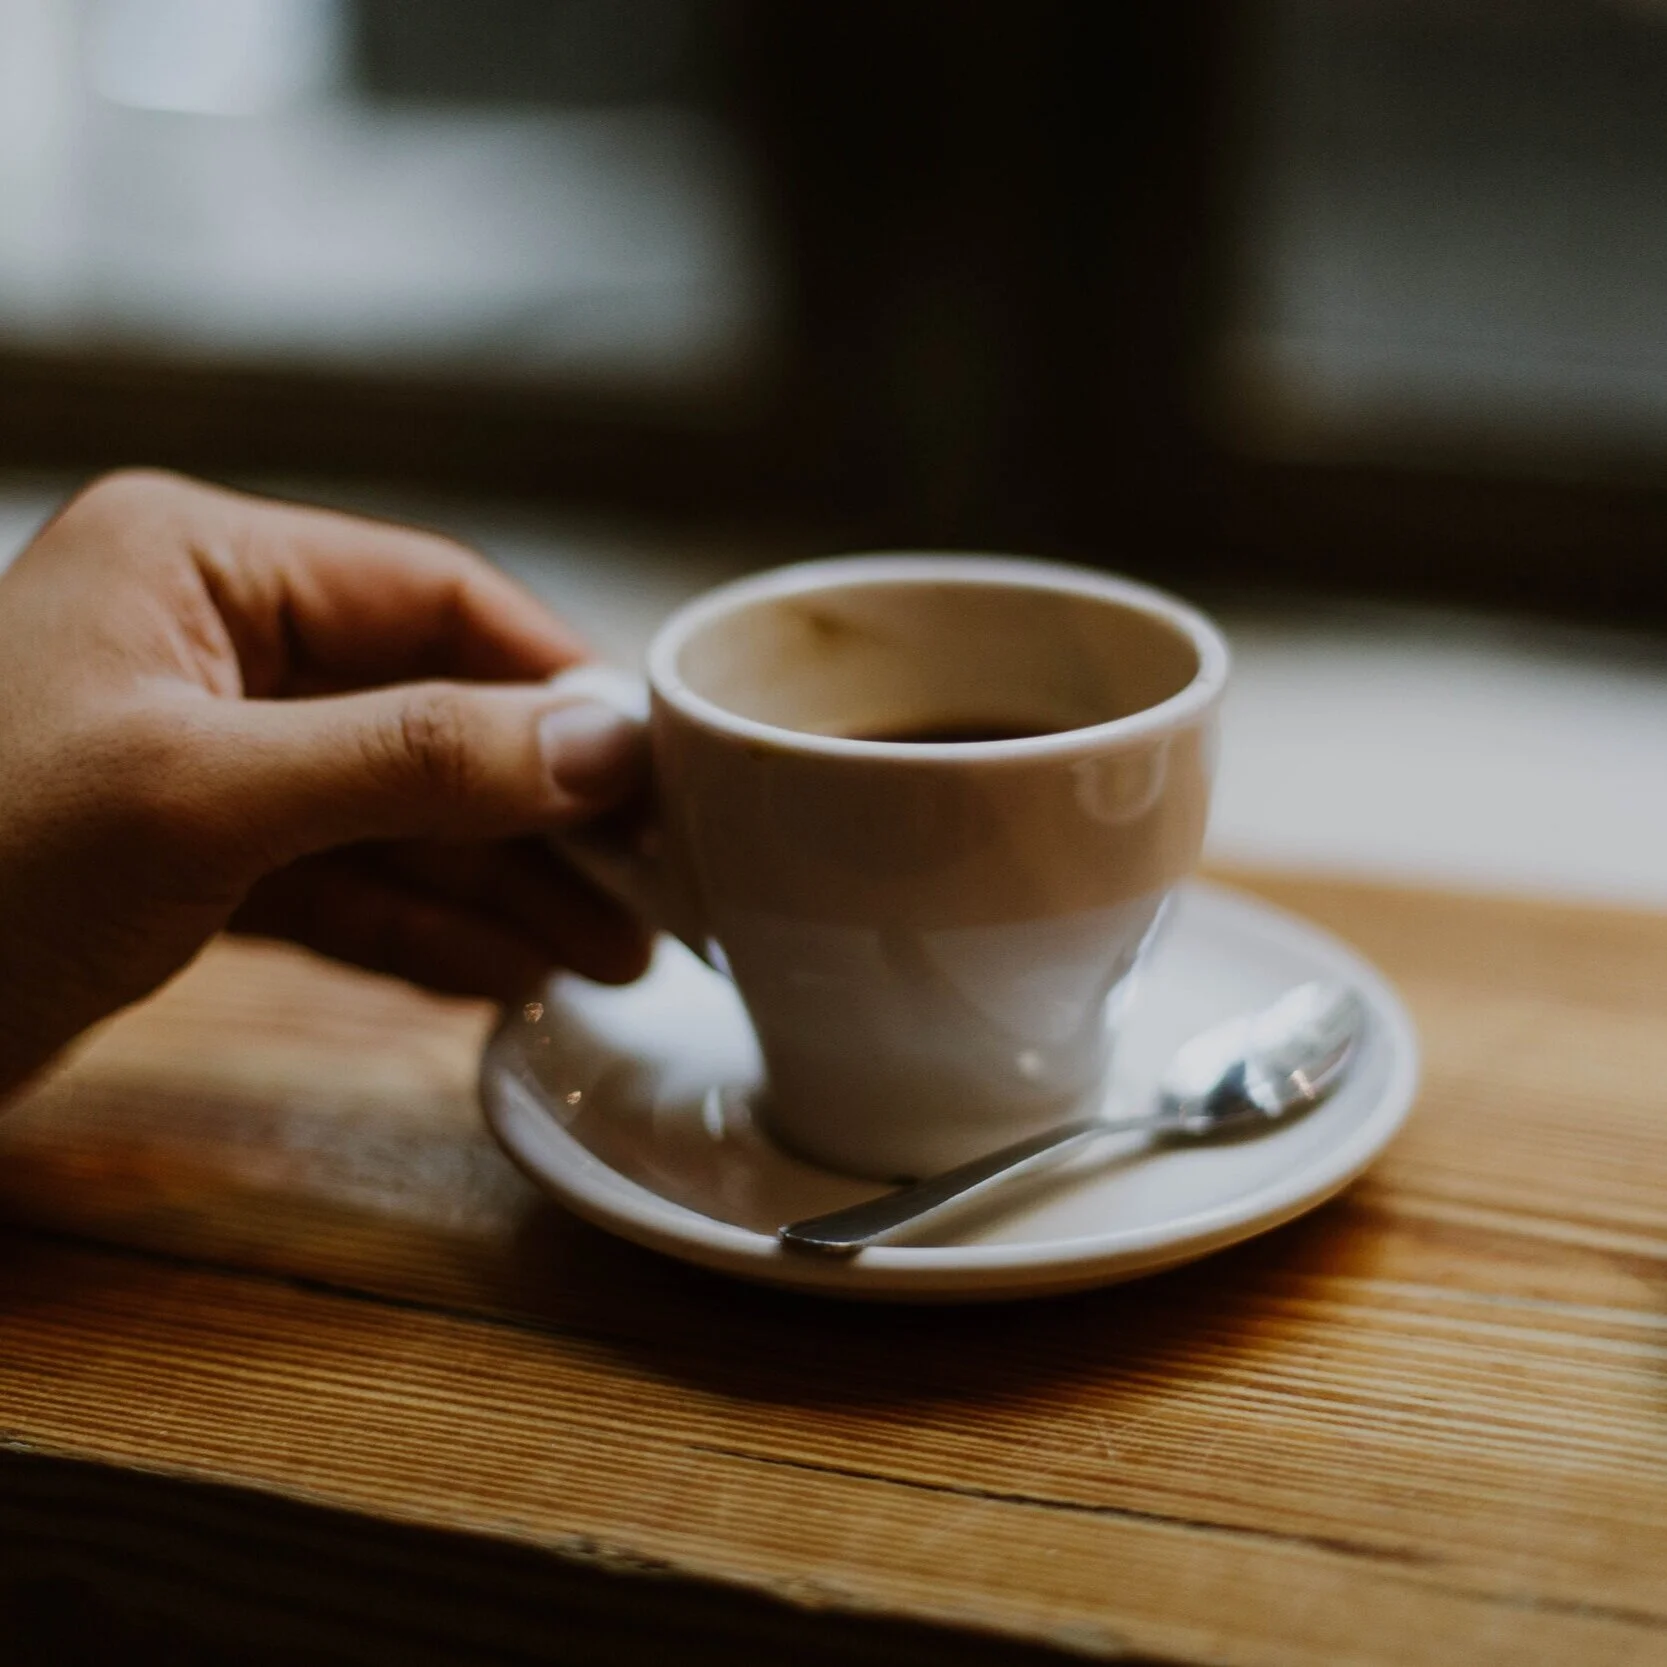
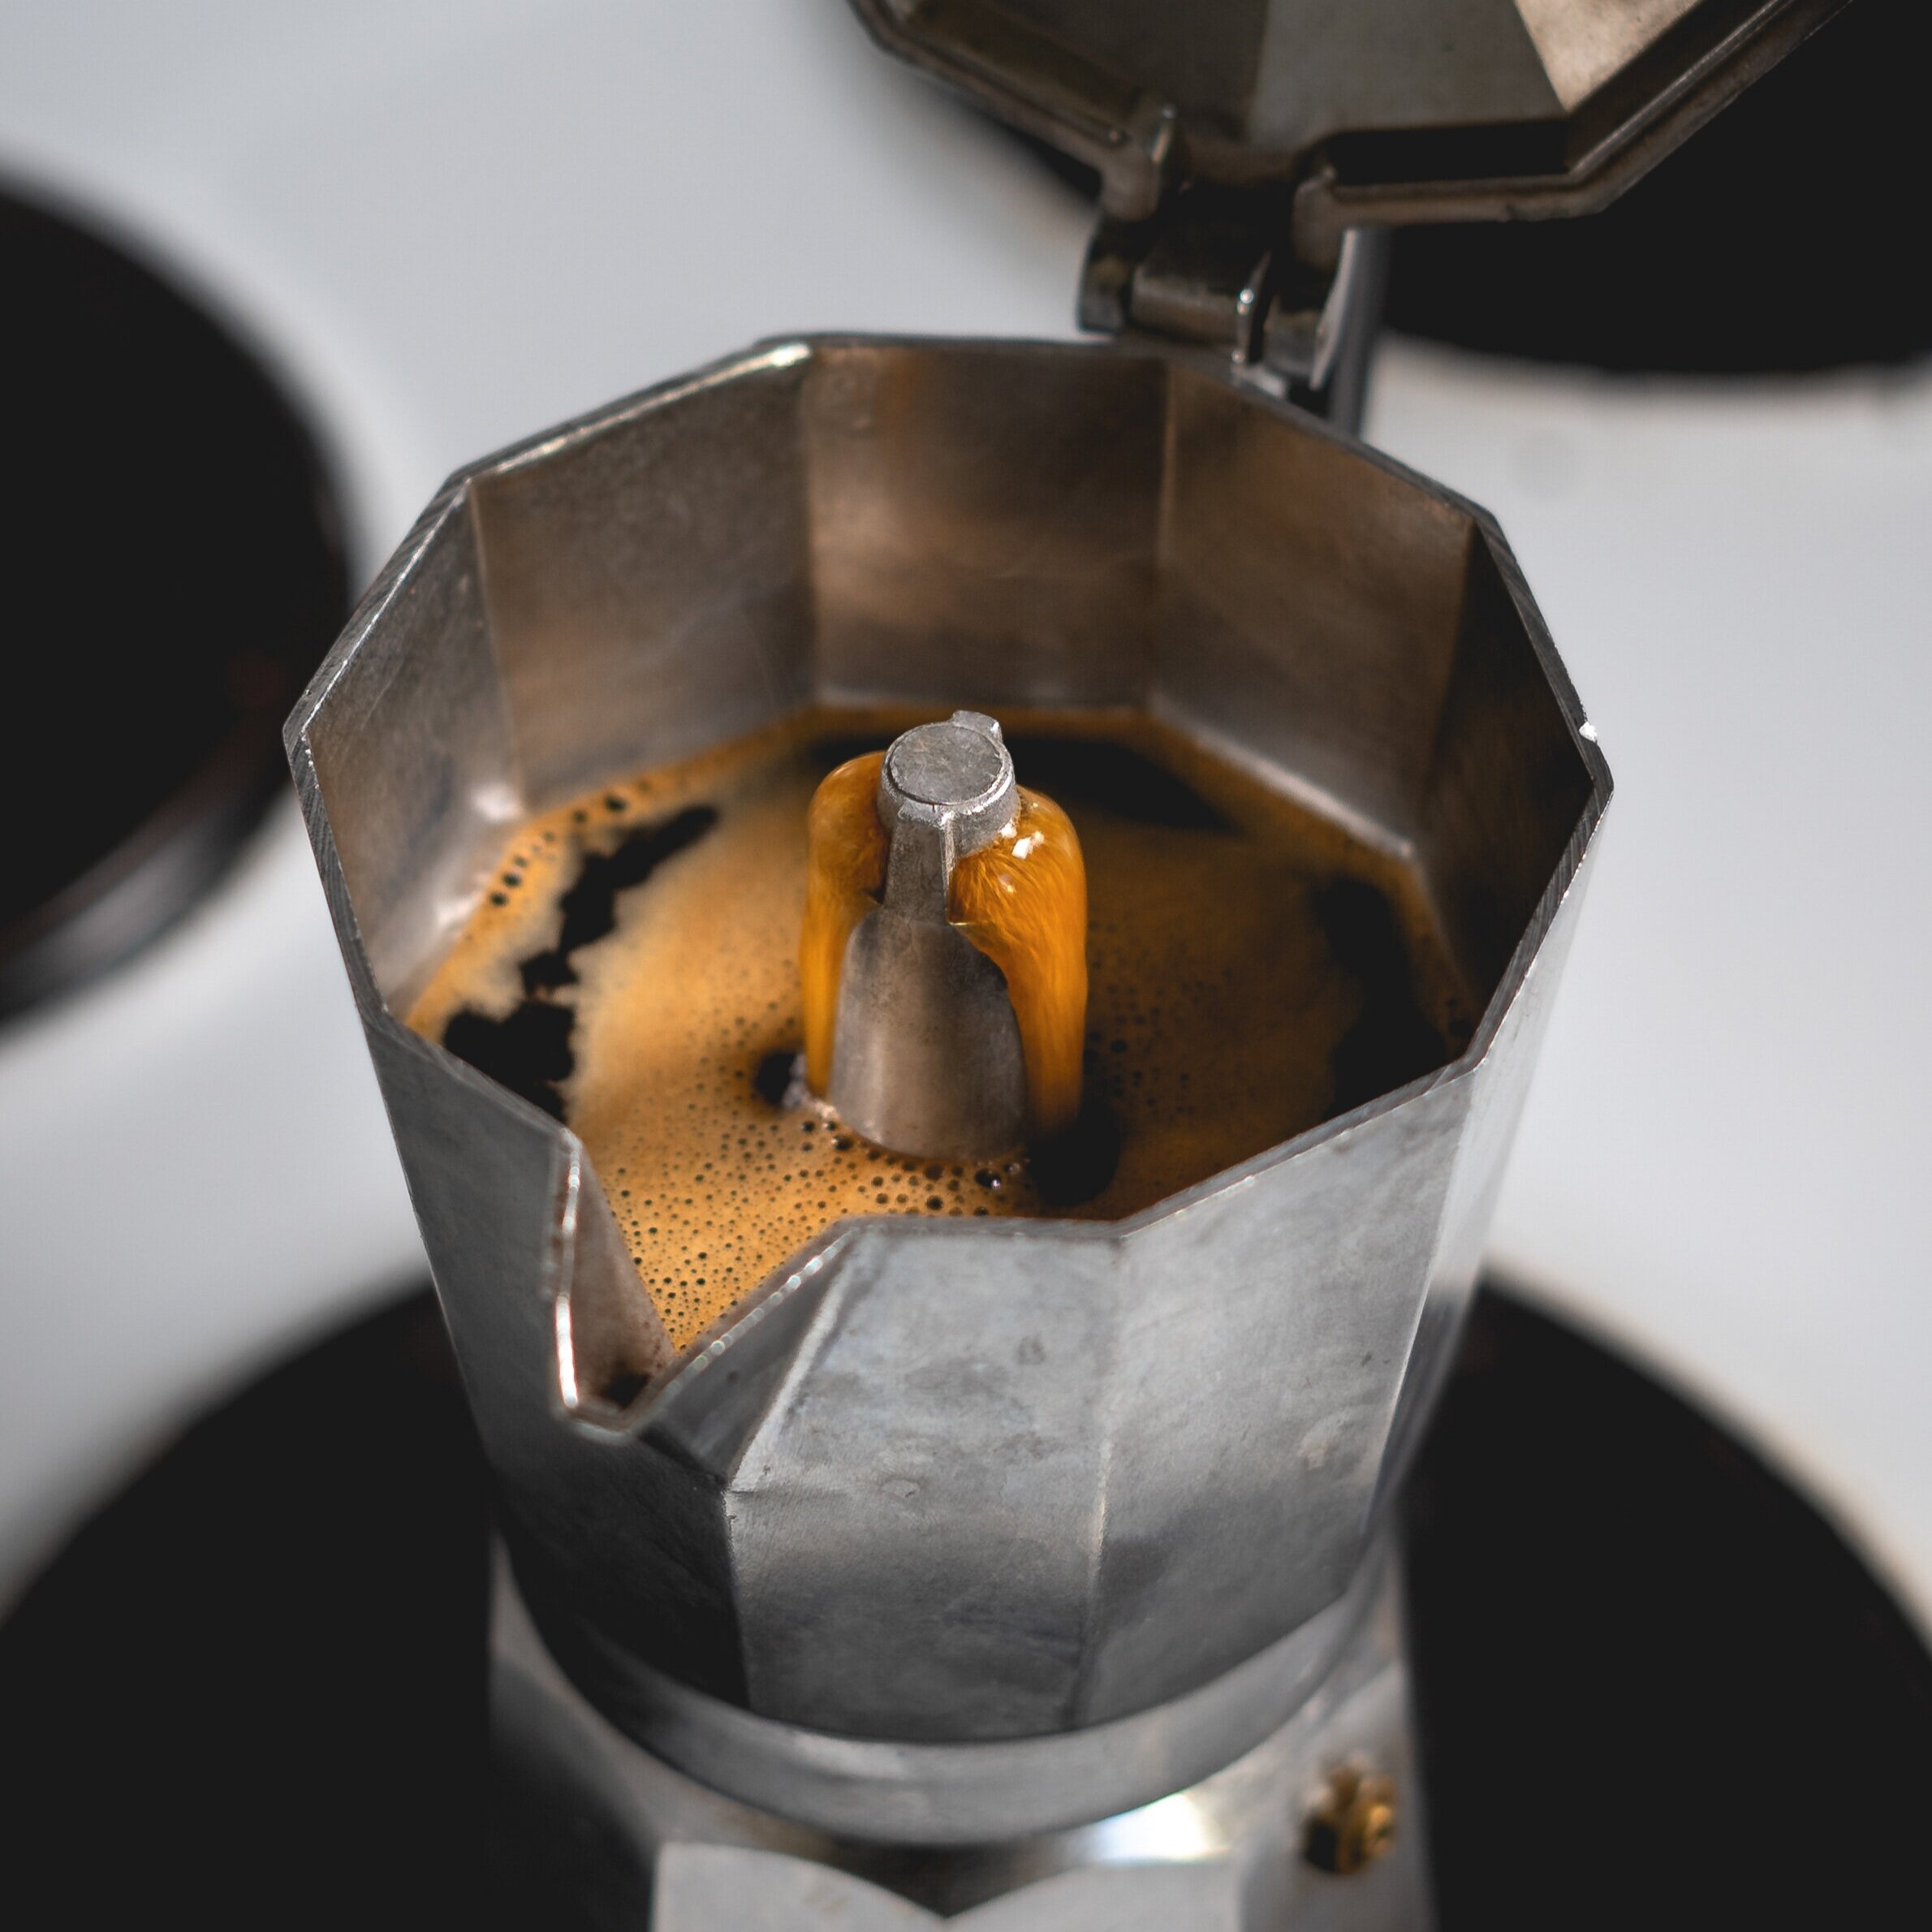
Step 7: Pour your coffee and enjoy
Now the coffee has been brewed you can pour this straight into your mug and enjoy your delicious Moka pot coffee.
Tips for the Best Results
Use Fresh Coffee: Freshly roasted and ground coffee delivers the best flavor.
Choose the Right Grind: A medium-fine grind ensures proper extraction without clogging.
Avoid Overheating: Too much heat can scorch the coffee and impart a bitter taste.
Clean Regularly: After each use, disassemble and rinse the moka pot thoroughly with warm water. Avoid using soap, as it can leave a residue that affects taste.
How to make a cappuccino with the Moka Pot
Why not take your Moka pot coffee to the next level by turning it into a deliciously frothy cappuccino!
1. Brew Coffee with the Moka Pot
Follow the moka pot brewing steps described earlier.
2. Heat the Milk
Pour about 1 cup of milk per cappuccino into a small saucepan.
Heat the milk gently on the stovetop until it reaches about 140°F (60°C). Avoid boiling, as this can scald the milk and alter its flavor.
3. Froth the Milk
Use a handheld frother to froth the milk until it has roughly doubled in size.
4. Assemble the Cappuccino
Pour the brewed moka pot coffee into a cup, filling it about one-third full.
Gently add the steamed milk to fill another third of the cup.
Spoon the milk foam on top to complete the cappuccino.
Troubleshooting Common Issues
Coffee is Weak: Ensure the coffee grind isn’t too coarse and check for proper sealing between the parts.
Coffee Tastes Burnt: Reduce the heat and remove the pot as soon as brewing is complete.
Steam Leaks: Inspect the rubber gasket and safety valve for wear and tear, replacing them if needed.
Why Use a Moka Pot?
The moka pot offers a unique balance of simplicity and sophistication. It produces a strong, espresso-like coffee that’s perfect for sipping on its own or as a base for lattes and cappuccinos. Plus, it’s an affordable and sustainable alternative to electric espresso machines.
By mastering the moka pot, you’ll unlock a new level of coffee appreciation and bring a piece of Italian tradition into your daily routine. Happy brewing!
Cleaning
Cleaning your stovetop espresso maker is very important to ensure it stays in good condition and you don't get any build-up of old coffee grounds affecting the flavour.
After you brew your coffee, rinse the coffee grounds out of the basket and wash all sections of the Moka pot with warm water. Remember to remove the rubber gasket and filter as this often gets a lot of coffee residue build-up. Use a washing up pad to wipe away any marks left from the coffee until it's clean.
When putting your Moka pot back together to store in your cupboard, don't screw the top part on too tight as this can damage the gasket. Just screw together loosely and put away for your next use.
If you follow these steps when using a Moka pot, you should be able to brew a delicious tasting coffee without any bitterness. If you do find that your coffee tastes bitter, you should check your Moka pot is clean and doesn't have any old coffee residue, or adjust the grind size to taste.